Keto Gummies
How to Make Sea Moss Gummies: A Delicious and Nutrient-Packed Recipe
Sea moss, also known as Irish moss or Chondrus crispus, has gained immense popularity in recent years for its potential health benefits. This nutrient-rich seaweed is packed with vitamins, minerals, and antioxidants, making it a valuable addition to any diet. One creative and tasty way to incorporate sea moss into your daily routine is by making sea moss gummies. In this comprehensive guide, we will walk you through the process of creating these delicious and nutritious treats step by step.
Why Make Sea Moss Gummies?
Before we dive into the recipe, let’s take a moment to understand why sea moss gummies are worth making. Sea moss is renowned for its potential health benefits, which include:
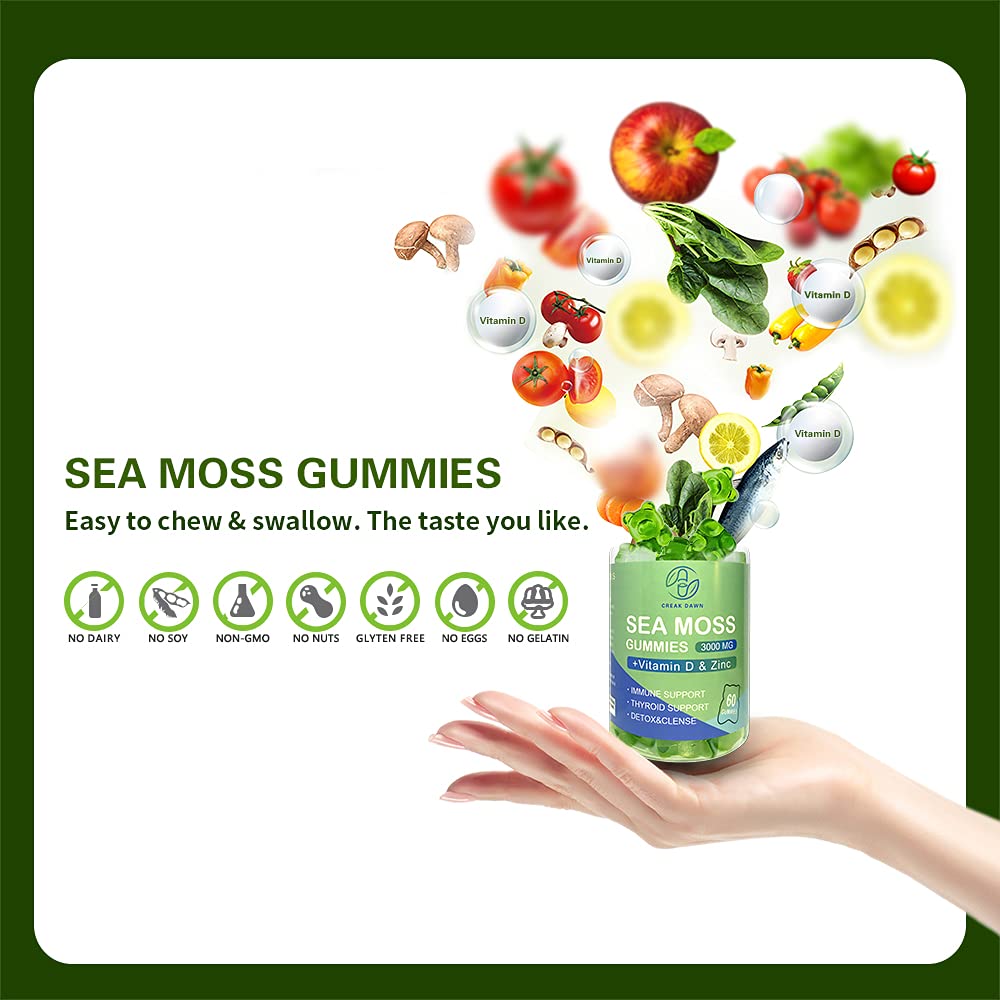
- Rich in Essential Nutrients: Sea moss is a natural source of vitamins and minerals, such as vitamin A, vitamin C, potassium, and iodine, which are essential for overall health.
- Improved Digestion: Sea moss contains mucilage, a substance that can soothe the digestive tract and promote healthy digestion.
- Healthy Skin: The vitamins and minerals in sea moss may contribute to healthier, more radiant skin.
- Boosted Immunity: Sea moss is believed to support the immune system due to its high nutrient content.
- Thyroid Health: The iodine in sea moss may help support thyroid function, which is crucial for regulating metabolism.
By turning sea moss into gummies, you can enjoy these benefits in a convenient and delectable form. Let’s get started with the recipe.
Ingredients You’ll Need
Before you start making your sea moss gummies, make sure you have the following ingredients on hand:
- 1/4 cup of dried sea moss
- 2 cups of distilled or spring water
- 1/4 cup of organic honey or maple syrup (for sweetness)
- 1/4 cup of fresh lemon juice (for flavor)
- 1 tablespoon of organic agar-agar powder (a natural gelling agent)
- Silicone gummy molds
Now that you have all the ingredients ready, let’s move on to the step-by-step process of making sea moss gummies.
1. Rinse the Dried Sea Moss Thoroughly:
The first step in making sea moss gummies is to ensure your sea moss is clean and free of impurities. Follow these steps to achieve this:
- Take your dried sea moss and place it in a fine-mesh strainer or a bowl.
- Under cold running water, rinse the sea moss thoroughly while gently rubbing it with your fingers. This process helps remove any sand, salt, or debris that may be present.
- Continue rinsing until the sea moss looks and feels clean. You’ll notice the sea moss becoming more pliable as you rinse it.
2. Soak the Sea Moss:
Once you’ve rinsed the sea moss, it’s time to rehydrate it. Soaking the sea moss is crucial because it allows it to expand, soften, and become easier to work with. Follow these steps for soaking:
- Place the cleaned sea moss in a bowl.
- Add enough distilled or spring water to cover the sea moss completely. It’s important to use clean, purified water to avoid introducing impurities.
- Allow the sea moss to soak for 12-24 hours. During this time, it will absorb water and expand in size. You can cover the bowl with a lid or plastic wrap while soaking.
3. Rinse the Soaked Sea Moss Again:
After the soaking period, you’ll notice that the sea moss has become plump and gel-like in texture. Now, it’s time to remove any excess salt and ensure it’s fully cleansed. Here’s what to do:
- Carefully drain the soaked sea moss in a fine-mesh strainer or colander.
- Rinse it one more time under cold running water to wash away any remaining salt or residue.
- Use your fingers to gently squeeze out any excess water from the sea moss. It should be soft and slightly slippery to the touch. Your sea moss is now properly prepared and ready for the next steps in creating your delicious sea moss gummies. This careful preparation ensures that you’ll get the best flavor and texture from your sea moss gummies while retaining all the beneficial nutrients this natural ingredient has to offer.
Blend the Sea Moss
- Gather Your Ingredients:
- The soaked sea moss from Step 1.
- 1 cup of distilled or spring water.
- Prepare the Blender:
- Ensure your blender is clean and dry before you begin.
- Combine the Sea Moss and Water:
- Place the soaked sea moss into your blender’s container.
- Add 1 cup of distilled or spring water to the blender. This additional water will help create a smooth consistency.
- Blend Until Smooth:
- Secure the blender lid in place.
- Start blending the sea moss and water on a low setting to avoid splashing. Gradually increase the speed as needed.
- Blend until you achieve a smooth, gel-like consistency. The texture should be uniform, with no visible lumps or chunks.
- Scrape Down the Sides (if necessary):
- While blending, you may need to stop the blender occasionally to scrape down the sides with a spatula. This ensures that all the sea moss is evenly incorporated into the mixture.
- Check the Consistency:
- The blended sea moss should resemble a thick, creamy gel. It should pour easily but not be overly runny.
By following these steps, you’ll have successfully transformed your soaked sea moss into a smooth, gel-like substance that serves as the base for your sea moss gummies. This consistency will allow for even distribution of the sea moss’s nutrients and flavor throughout the gummies, making them both delicious and nutritious. Now, you’re ready to move on to the next steps in creating your sea moss gummies.
Create the Gummy Mixture
Ingredients You’ll Need:
- The sea moss gel prepared in Step 2.
- 1/4 cup of organic honey or maple syrup (for sweetness).
- 1/4 cup of fresh lemon juice (for flavor).
- 1 tablespoon of organic agar-agar powder (a natural gelling agent).
Instructions:
- Combine Ingredients in a Saucepan:
- In a medium-sized saucepan, place the sea moss gel, organic honey or maple syrup, and fresh lemon juice. These ingredients will give your gummies a delightful balance of sweetness and citrusy flavor.
- Heat and Stir:
- Place the saucepan over low to medium heat on your stovetop.
- Begin stirring the mixture continuously as it warms up. The heat will help the honey or maple syrup blend smoothly with the sea moss gel, and the lemon juice will infuse the mixture with a refreshing taste.
- Incorporate Agar-Agar Powder:
- As the mixture starts to warm up, gradually sprinkle in the organic agar-agar powder while continuing to stir. This step is crucial to prevent clumps from forming in the mixture.
- Continue stirring until the agar-agar powder is fully dissolved into the mixture. This usually takes about 10-15 minutes. You’ll notice the mixture thickening as the agar-agar activates its gelling properties.
- It’s important to maintain a low-medium heat level throughout this process to avoid overheating or burning the mixture.
- Monitor Thickness:
- Keep an eye on the thickness of the gummy mixture. It should gradually thicken during the cooking process.
- Check for Complete Dissolution:
- Ensure that the agar-agar is completely dissolved by examining the mixture. There should be no visible grains or lumps of agar-agar remaining.
- Remove from Heat:
- Once you’ve achieved the desired thickness and ensured the agar-agar is fully dissolved, remove the saucepan from the heat source.
- At this point, you should have a smooth, thickened mixture with a sweet and tangy aroma.
This gummy mixture is the heart of your sea moss gummies. It not only provides the gummies with a delightful taste but also serves as a binding agent, helping your gummies hold their shape. With Step 3 complete, you’re well on your way to creating these nutritious and delectable treats. Next, let’s move on to the final steps of pouring the mixture into molds and setting your sea moss gummies.
Certainly, let’s explore the details of Step 4, where we take our prepared gummy mixture and shape it into sea moss gummies:
Pour into Molds
Instructions:
- Remove from Heat and Cool:
- After you’ve achieved the desired thickness and ensured that the agar-agar is completely dissolved in the gummy mixture (as outlined in Step 3), it’s time to remove the saucepan from the heat source.
- Allow the mixture to cool for a few minutes. This cooling period will make it easier to handle and pour into the molds.
- During this time, you can prepare your silicone gummy molds. These molds come in various shapes and sizes, allowing you to get creative with the appearance of your sea moss gummies.
- Prepare the Silicone Gummy Molds:
- Make sure your silicone gummy molds are clean and dry.
- If your molds have intricate shapes or patterns, you may want to lightly grease them with a small amount of coconut oil or non-stick cooking spray to make it easier to release the gummies later.
- Pour the Mixture:
- Using a steady hand, carefully pour the slightly cooled gummy mixture into the silicone molds. You can use a spoon, a dropper, or a small measuring cup with a spout to help control the pouring.
- Fill each mold cavity to your desired level. Remember that these gummies will set in the shape of the mold, so choose molds that create appealing and fun shapes.
- Tap and Settle:
- Gently tap the filled molds on a flat surface to remove any air bubbles that may have formed during pouring. This ensures that your gummies have a smooth and uniform appearance.
- Cool and Set:
- Allow the filled molds to cool at room temperature for approximately 30 minutes. During this time, the gummy mixture will begin to set.
- Refrigerate for Final Setting:
- Once the gummies have cooled and set at room temperature, transfer the molds to your refrigerator.
- Allow them to chill and set further in the refrigerator for 2-3 hours, or until the gummies are completely firm to the touch.
- Remove the Gummies from the Molds:
- After the gummies have fully set in the refrigerator, carefully remove them from the silicone molds.
- Gently flex the molds or use your fingers to push the gummies out from the cavities.
- Your sea moss gummies should now have taken on the fun shapes and designs of your silicone molds.
With Step 4 complete, you’ve successfully poured and shaped your sea moss gummies. These delightful creations are almost ready to be enjoyed, but before that, they need a bit more time to set and firm up. In the final step, we’ll cover how to store and enjoy your homemade sea moss gummies.
Set and Enjoy
- Allow the gummies to cool at room temperature for about 30 minutes.
- Place the molds in the refrigerator for 2-3 hours or until the gummies have set completely.
- Once set, remove the gummies from the molds and store them in an airtight container in the refrigerator.
FAQs
Q1: Can I use fresh sea moss instead of dried sea moss?
A1: Yes, you can use fresh sea moss. Simply skip the rehydration step and blend the fresh sea moss with water as instructed.
Q2: Can I customize the flavor of my sea moss gummies?
A2: Absolutely! You can experiment with different fruit juices, such as orange, pineapple, or berry, to create unique flavor combinations.
Q3: How long do sea moss gummies last in the refrigerator?
A3: Sea moss gummies can be stored in the refrigerator for up to two weeks. Make sure to keep them in an airtight container to maintain freshness.
Q4: Are sea moss gummies suitable for kids?
A4: Sea moss gummies can be a nutritious and tasty snack for kids, but it’s important to monitor their intake and consult with a pediatrician if you have concerns or specific dietary considerations.